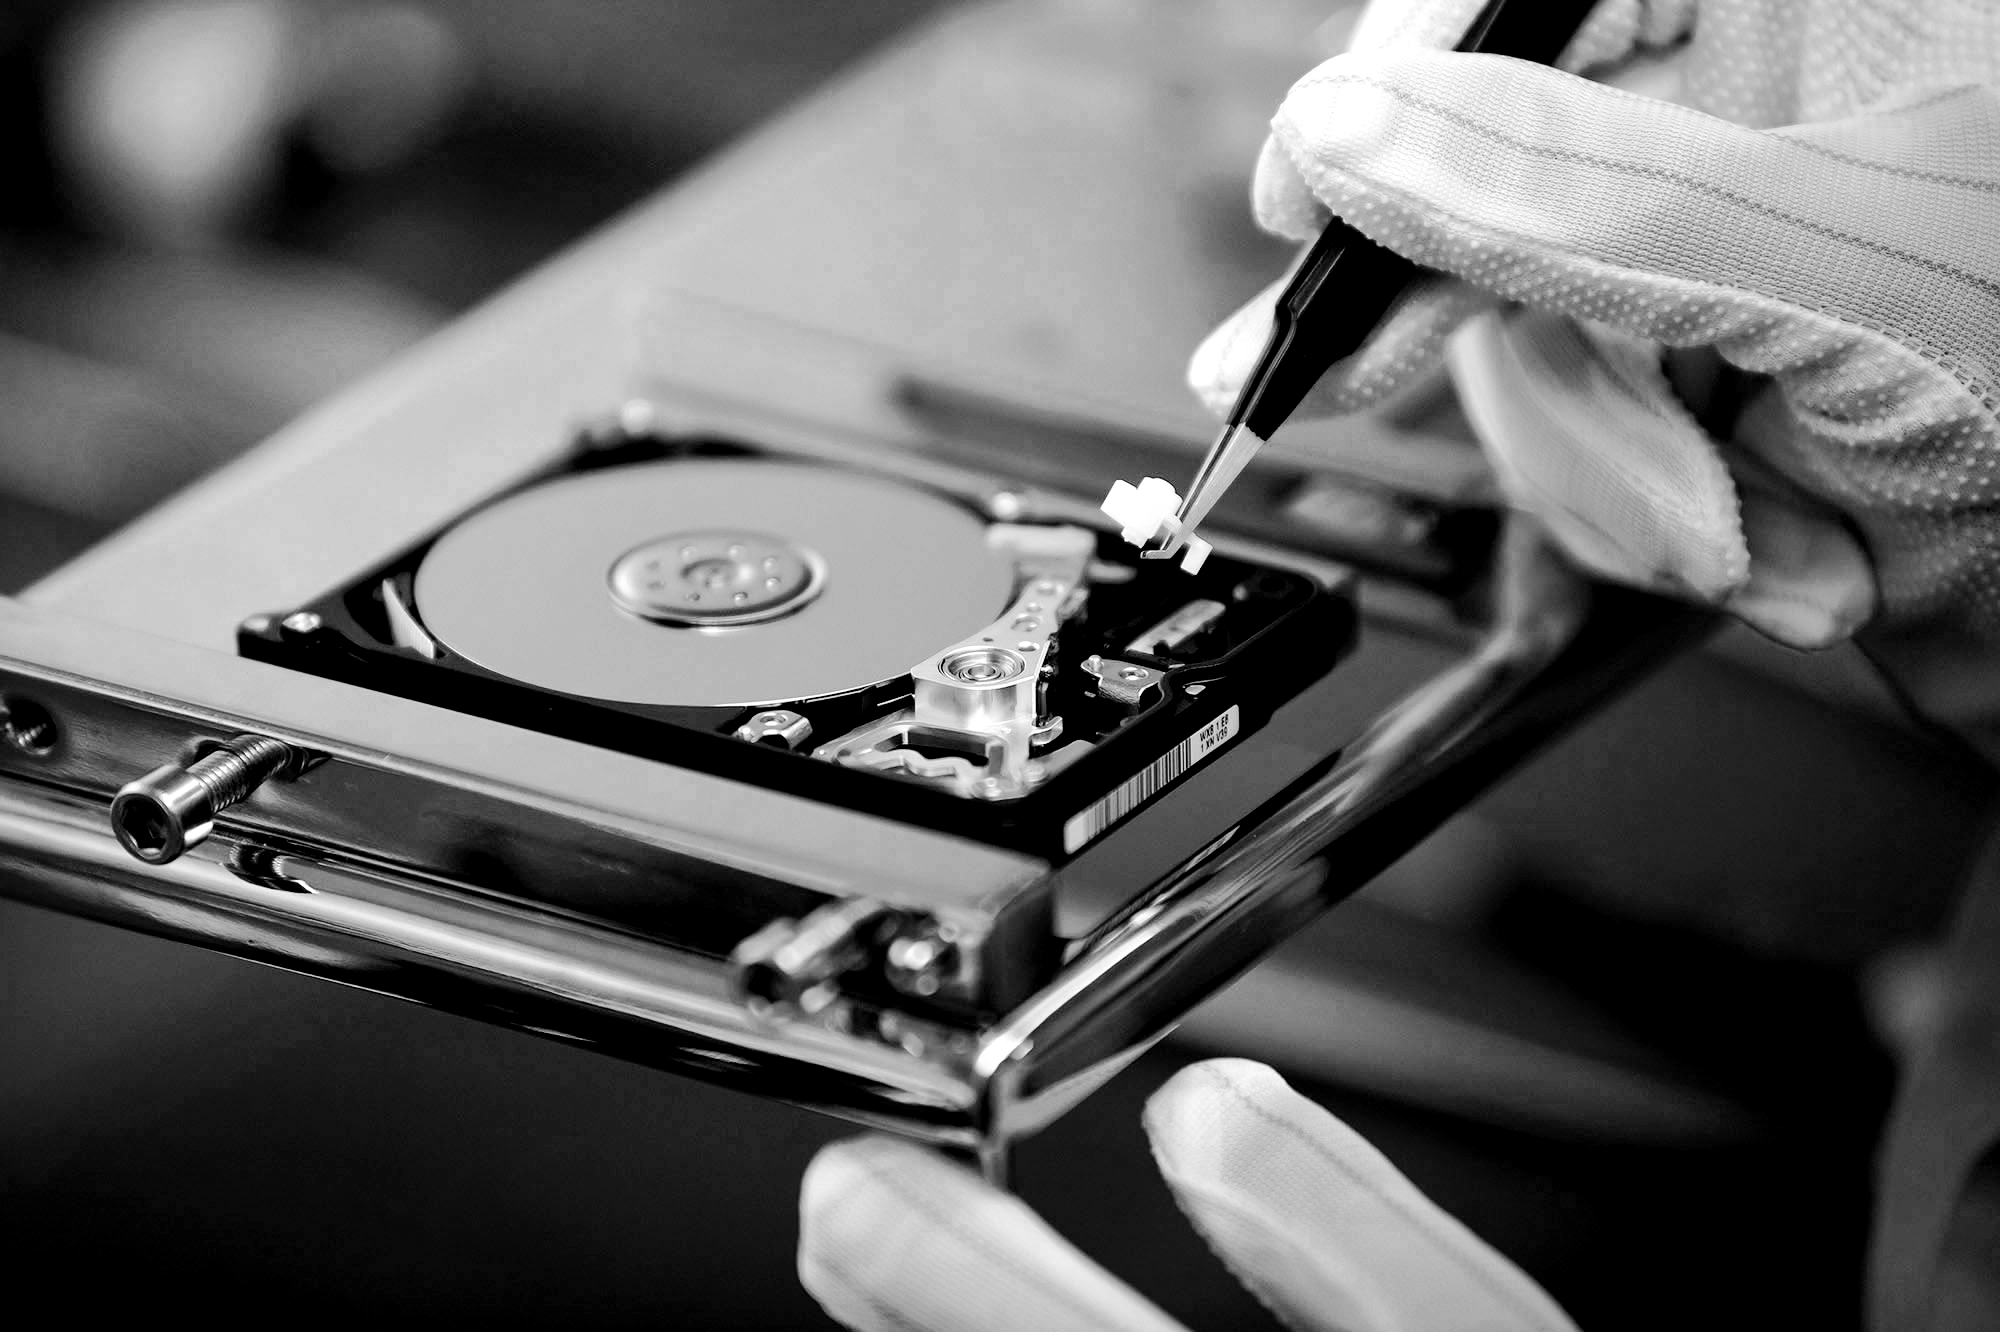
Accidentally deleting or formatting important files, such as photos, can be a heart-wrenching experience. This is especially true when dealing with devices like smartphones or external storage drives. Fortunately, there are tools available that can help recover deleted files, even after a format. One of the most reliable options for this task is PhotoRec, a powerful console-based application.
What Is PhotoRec and How Does It Work?
PhotoRec is a free, open-source data recovery software that specializes in recovering lost files, particularly multimedia files like photos and videos. It works by scanning the storage device for traces of deleted files that have not been completely overwritten yet.
It’s worth noting that PhotoRec is part of a suite of tools that includes TestDisk, which specializes in recovering lost partitions. While TestDisk is great for partition recovery, PhotoRec is designed specifically to retrieve deleted files from a wide range of storage devices, including memory cards, hard drives, and USB sticks.
Important Considerations Before Using PhotoRec
Before diving into the recovery process, it’s crucial to understand a few things:
- Don’t Write to the Device: If you’ve accidentally deleted or formatted a storage device, the first rule of thumb is to avoid writing anything new to that device. Any new data written to the drive can overwrite the space previously occupied by your deleted files, making recovery much harder.
- Unmount the Device: If you’re working on a partition from your computer, unmount the partition immediately. For system partitions, it’s best to shut down your PC and use a Live CD or USB to perform the recovery to prevent further data overwrite.
- Recovery Limitations: While PhotoRec is powerful, it’s important to note that recovery is not always guaranteed. For technical reasons, it can sometimes be difficult or impossible to recover every file, especially if the space has been overwritten or the files were fragmented.
How to Recover Deleted Files Using PhotoRec
Step 1: Install and Launch PhotoRec
First, make sure you have PhotoRec installed. It comes bundled with TestDisk, so downloading and installing TestDisk will give you access to both programs. After installation, launch PhotoRec through the terminal or command prompt.
Step 2: Select the Storage Device
Once you open PhotoRec, it will display a list of available storage devices, including hard drives, USB drives, and SD cards. Use the arrow keys to select the drive from which you want to recover files.
For example, if you’re recovering from a formatted MicroSD card, make sure to select the correct storage device associated with the SD card.
Step 3: Choose the Partition Type
After selecting the device, PhotoRec will ask for the partition type. Most modern devices use the default partition type (usually Intel for PCs or EFI GPT for modern systems). Select the appropriate partition scheme based on your device.
Step 4: Select the File System Type
Next, PhotoRec will ask you to choose the file system type for the selected device. Common file systems include FAT32, NTFS, ext4, etc. If you’re unsure, you can choose the default option (PhotoRec usually detects the correct file system automatically).
Step 5: Choose the Recovery Location
PhotoRec will then ask where to save the recovered files. It’s recommended to choose a different drive or partition to store the recovered files to prevent overwriting any data during the recovery process. You can use the command cd in the terminal to navigate to a folder of your choice or create a new folder for the recovered files.
Step 6: Start the Recovery Process
Once everything is set, press C on your keyboard to begin the recovery process. PhotoRec will start scanning the selected drive for deleted files and will attempt to recover them.
During the recovery process, PhotoRec will display a list of files it has found. You can monitor the progress in the terminal window. The tool will also display the number of files it has found and recovered in real-time.
Step 7: Check the Recovered Files
Once the recovery process is complete, you can go to the folder where PhotoRec saved the files. Check the recovered files for completeness and quality. Keep in mind that PhotoRec may not always recover files in their original filenames or folder structure, but the data itself should be intact.
Additional Tips for Better Recovery
- Recovery Duration: Depending on the size of the drive and the number of files, the recovery process may take a while. Be patient and let the program complete the task.
- File Types: PhotoRec is great for recovering photos, videos, and many other types of files. However, it may not always recover files that were overwritten or severely corrupted.
- Check for Fragmentation: If you are trying to recover files from a fragmented drive, it may be more difficult to fully recover everything, so it’s always best to act quickly.
Conclusion
PhotoRec is an excellent, free tool that can help recover deleted files from various devices, especially when dealing with formatted storage devices like memory cards or hard drives. Although not all files can be recovered under all circumstances, PhotoRec gives you a solid chance to recover your valuable data, provided that you act quickly and follow the recovery steps carefully.
About the Author